The tools you need to get started.
By The DIY Audio Guy
Disclaimer: This post contains affiliate links and I may earn a small commission if you make a purchase after clicking on a link.
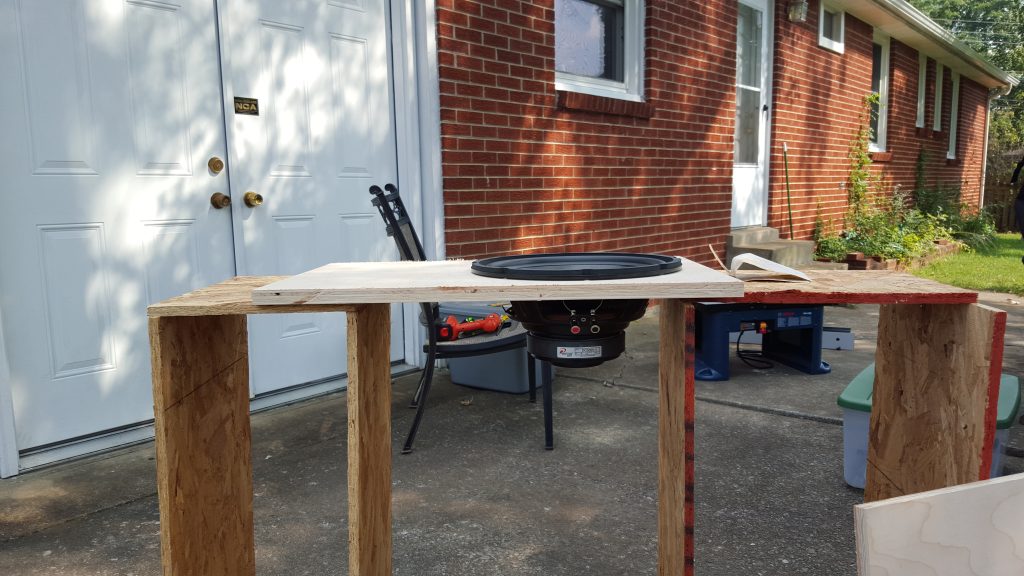
If you want to build a subwoofer box, you’re going to need some tools. But you don’t need a dream workshop packed with high-end gear — I didn’t start that way. My first boxes were built with a pawn-shop circular saw and some shaky homemade sawhorses. Here is a photo of those sawhorses to prove it!
If you’re just getting started, this guide breaks down exactly which tools you need to build your first, simple, speaker box. These are your starter tools. Some you will use for years, some you will upgrade as soon as you can. For more info on the logic and thought process you can check out this video:
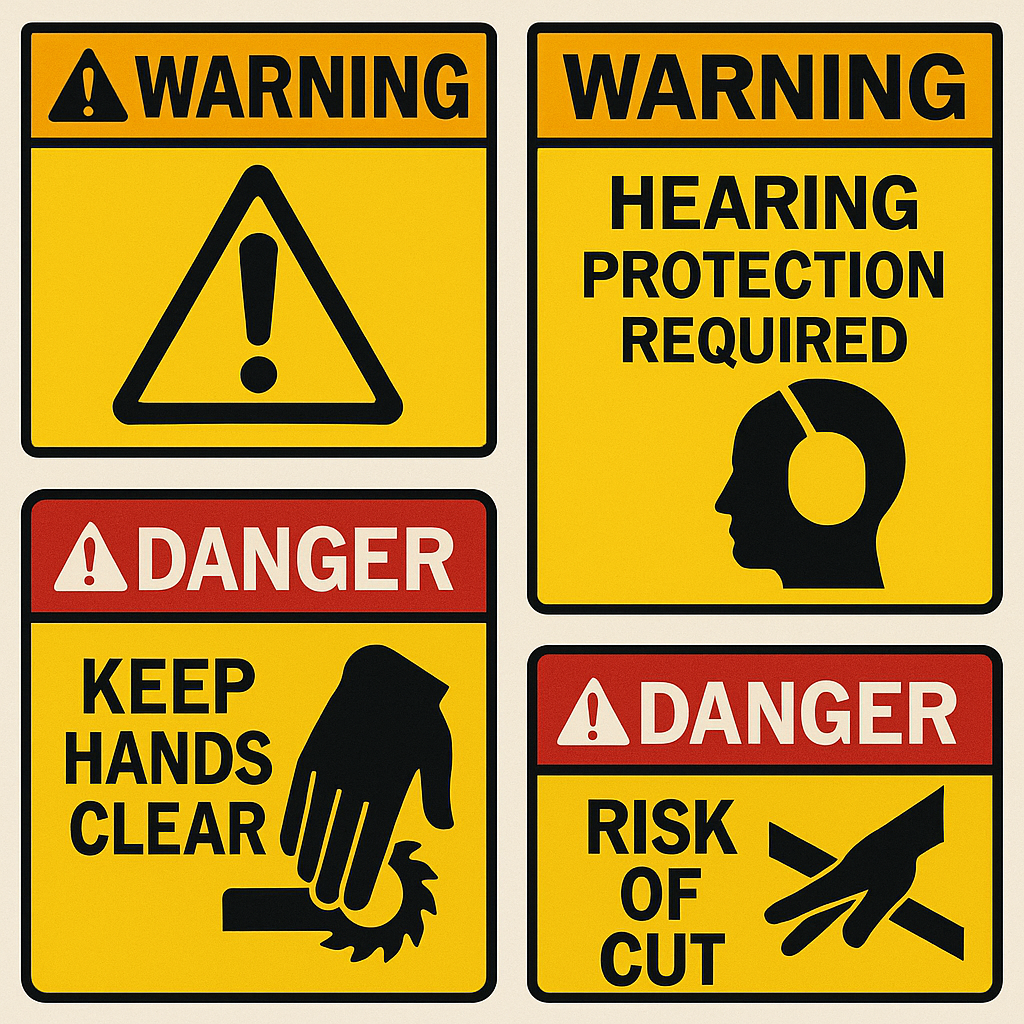
Level 0: Safety Gear (Do NOT Skip This)
Before anything else, buy basic PPE. MDF dust is notorious, and power tools don’t care about your fingers or ears.
- Dust masks or a respirator
- Safety glasses or prescription shatterproof lenses
- Ear protection (earplugs or earmuffs)


Level 1: The Beginner Setup (Affordable & Effective)
These tools will get you building boxes without emptying your wallet.
Circular Saw
A circular saw is your first straight-cutting tool. Corded or cordless — both work. This is how you’ll break down sheet goods and cut panels to size. I recommend that you go ahead and jump right into cordless tools since you will eventually want to upgrade to cordless. This next sentence will trigger some of you. The brand does not matter, what matters is the breadth depth of the tool line. Go with a brand that has a wide variety of tools available for your battery platform. The good news, most brands have that wide variety.


Kreg Rip-Cut (Beginner Cheat Code)
The Kreg Rip-Cut attaches to your circular saw and lets you make straight, repeatable cuts across full sheets. It’s one of the best beginner upgrades you can buy.
Jigsaw

A jigsaw is the entry-level tool for cutting speaker holes. It takes some practice, but you can absolutely build great boxes with one. Look for one with an adjustment on the side, this is the orbital control. Turn it down for cutting tight curves and clean cuts. If you crank this setting up the blade will move forward on the upstroke. It makes for a more aggressive cut, it is fast and dirty.


Drill & Driver Combo Kit
Your first cordless tools should almost always be a drill and an impact driver. A lot of box builders glue and screw all of their enclosures. It is a great way to build strong boxes. You want two tools, mount a drill bit in one so you can drill pilot holes. Keep a driver bit in the other to drive the screws. You will find yourslef using these tools for everything.


Drill Bit & Driver Set
A good basic set of drill bits and driver bits keeps you from constantly running back to the store. You will need at least one very large bit to start holes that you will cut with the jig saw. You will need philips, star, hex and square driver bits.


Foam Insulation Sheet
Lay a foam board on the floor, put your plywood or MDF on top, and cut right on it with your circular saw. It supports the sheet and protects your blade and floor.
Clamps
Many enclosure builders don’t use screws, they just use clamps. I use them as extra hands (hold parts together while you screw them) or situations where I don’t want to mar the surface. A few 24″ clamps will get the job done.


Wood Glue
Glue is what actually holds the box together. Mechanical fasteners just hold it toghter while the glue dries. Most any wood glue will work fine on most any wood.


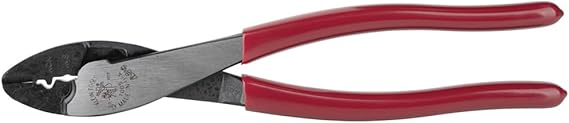
Wire Tools
You will need to run wire from the wire terminals to the drivers. Cheap wire strippers and crimpers are fine to start. You can upgrade later once you’ve built a few boxes.


Finishing Options
You’ve got two main starter options:
Utility Knife
A good break-away utility knife is almost mandatory if you’re working with carpet.


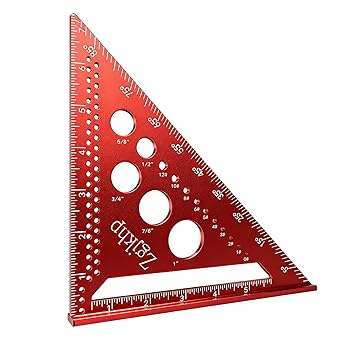
Speed Square
A speed square is great for marking straight lines, checking angles, and marking where screws should go.


This is just the beginning!
You will quickly find yourself looking for the next upgrade, so think long term when you pick out tools. You will want cordless tools so look for a tool line with a LOT of tools that work with your existing batteries. Consider buying a big bundle of cordless tools, or a starter bundle and add tools as needed.


Knowledge is Power!
You will need some speaker plans. I have a free tool that you can use to generate a cut list for a simple ported speaker enclosure. Click right here to learn more.
Trusted Partners
I personally buy gear and tools from all of these companies, which is why I have affiliate deals with them. I may earn a small commission if you make a purchase.


Warning and Disclaimer!
This website, including all calculators, tools, and information, is provided “as is” without any warranty, express or implied, including but not limited to accuracy, completeness, or fitness for a particular purpose. The creators of this website are not responsible for errors on this site or mistakes made by users in applying the information. Using woodworking equipment, and other tools carries serious risks such as cuts, amputations, and hearing damage. Always wear appropriate PPE. Playing music at high sound pressure levels may cause permanent hearing loss, equipment damage, or violations of local noise ordinances. By using this website, you agree that you assume all risks and accept that the creators of this website are not liable for any damages, injuries, losses, or consequences—real or imagined—that may result from the use or misuse of this site.